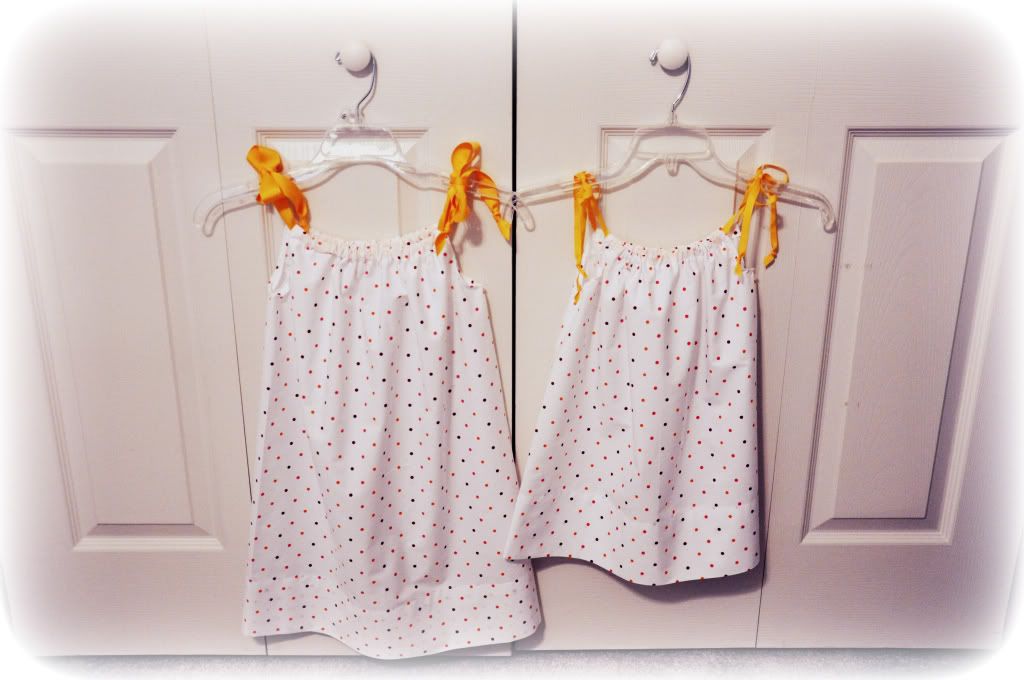
 |
| I made them! |
A few days ago, out of the blue, I decided I needed to make Millie a dress. It seems like a mom thing to do, and my mom made me dozens of dresses as a kid. The problem with this idea is that I can't sew at all. (I can mend a ripped seam or something easy like that, but using a sewing machine is beyond me.)
A friend suggested I make pillowcase dresses. I'd never heard of them before,
but they turned out to be so easy and fun, I know I'll be making more!
So I'm posting how I made them, for crafty girls and wannabes like me.
The best thing about a pillowcase dress is that your stitches can look horrible, and it won't matter since none of them show- the other nice thing is that it takes less than an hour to make.
I made Millie's while she took an afternoon nap.
If you'd like to skip the pictures and step-by-step, you can also read the directions at the end of the post.
 |
| Lay the pillowcase out flat, making sure the seam is on one side. |
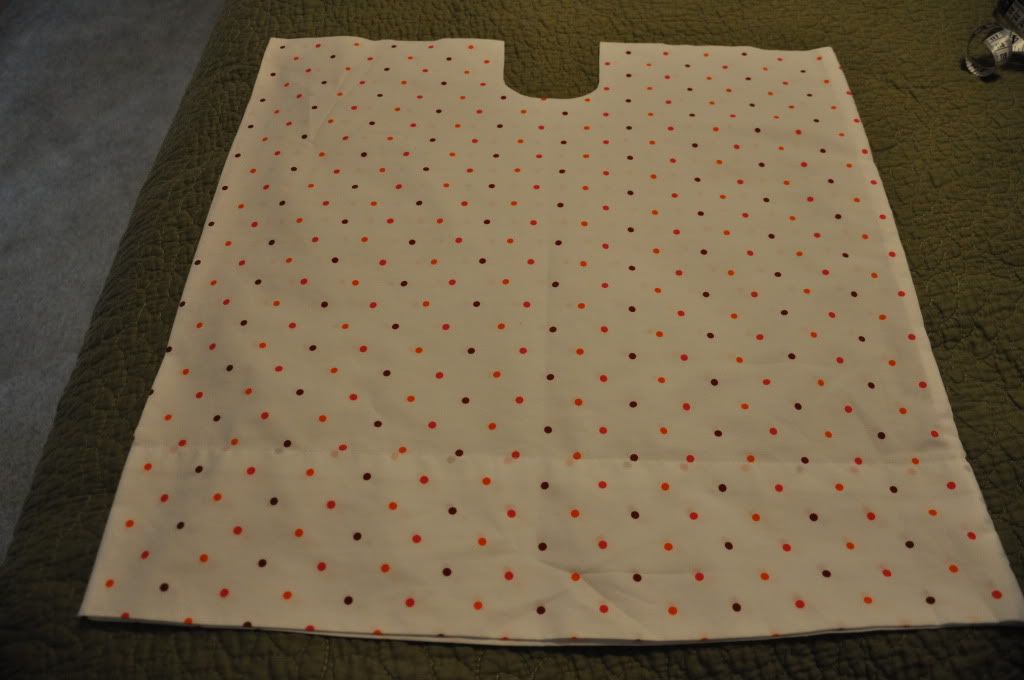 |
| When you unfold it, you will panic like I did and think you cut the armholes where the neck should be. |
 |
| Nope! Fold it to get the armholes lined up on the sides. You’ll notice that the seam is now going down the back. |
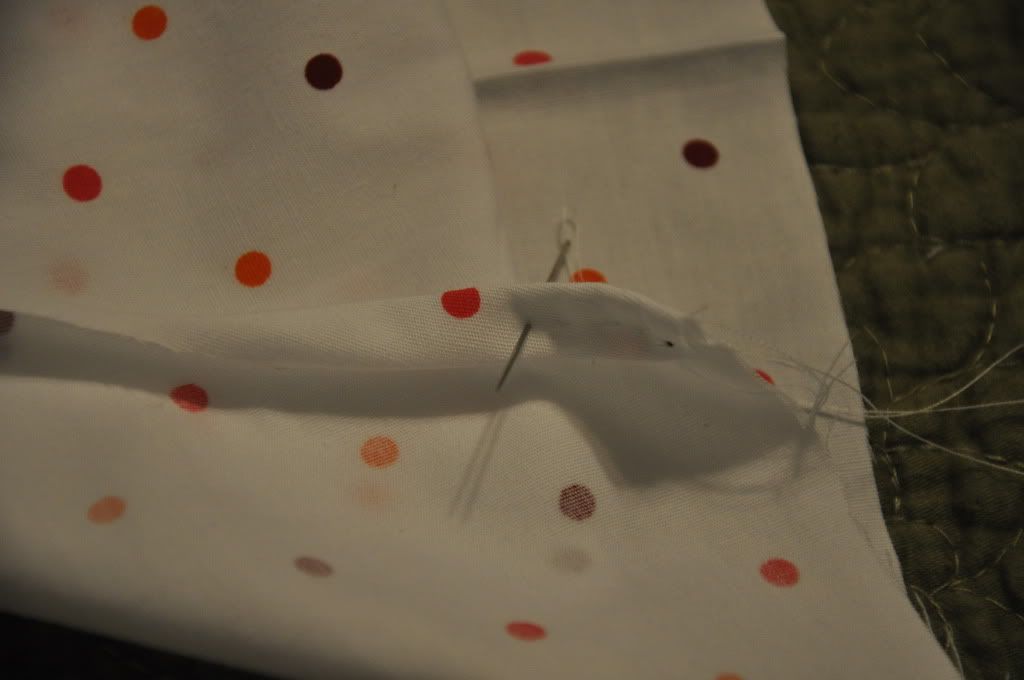 |
| Now hem each armhole. I fold it in, then fold it in again. It will keep it from fraying that way. |
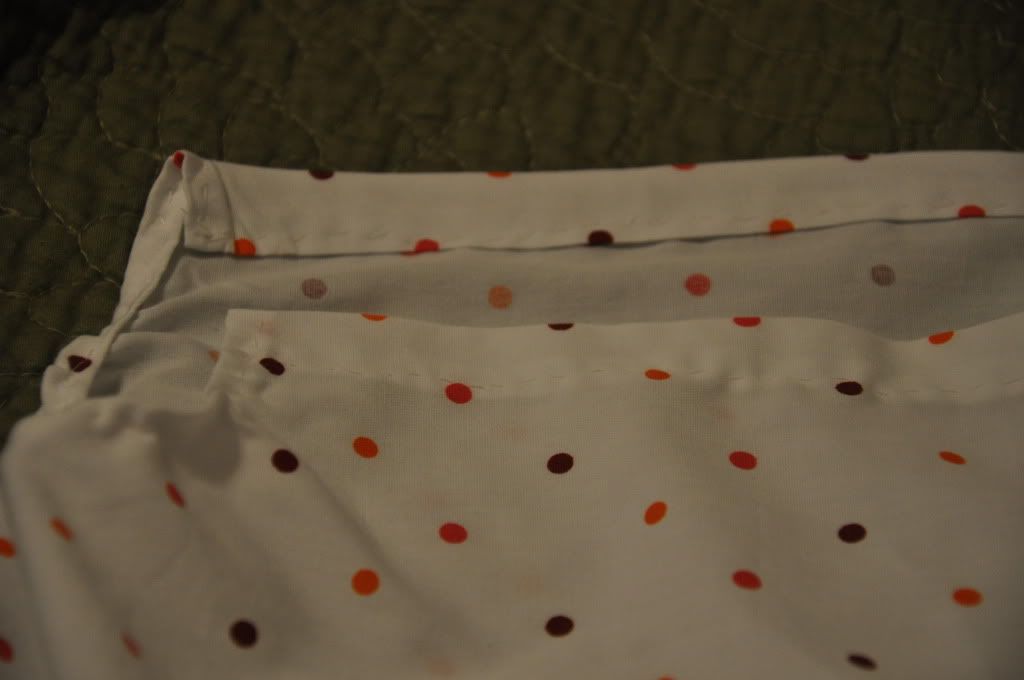 |
| When both sides of the collar are done, you can use my mom’s safety pin trick to thread the ribbon through. |
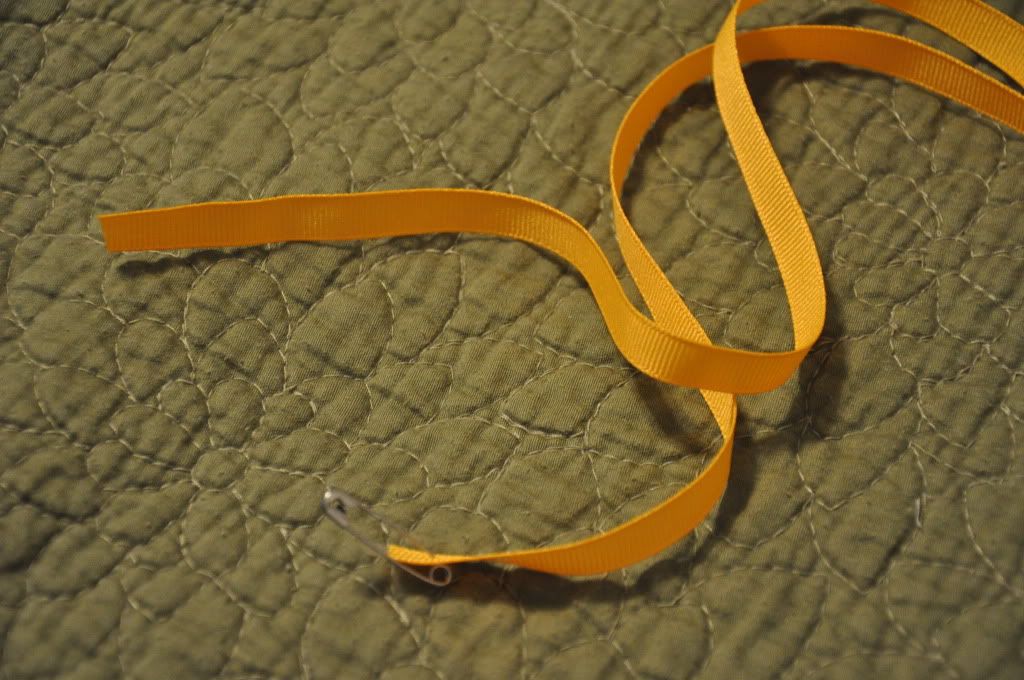 |
| Clip the safety pin to the end of the ribbon, then thread it into the hole where you hemmed. |
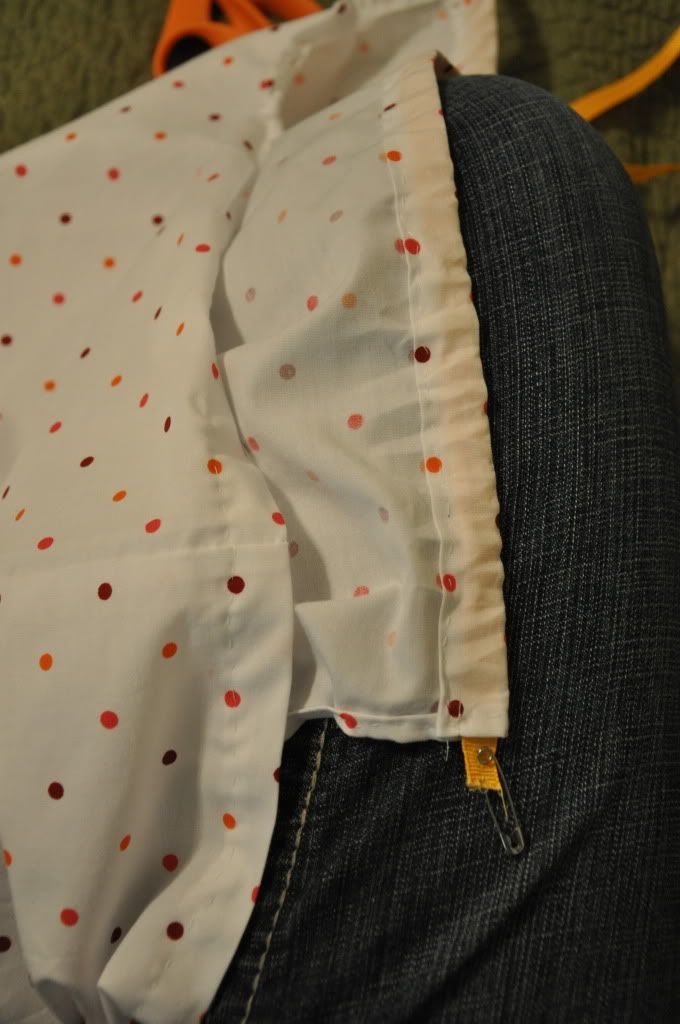 |
| Scrunch the fabric up on the pin, then un-scrunch it, and keep working until the ribbon is all the way through. |
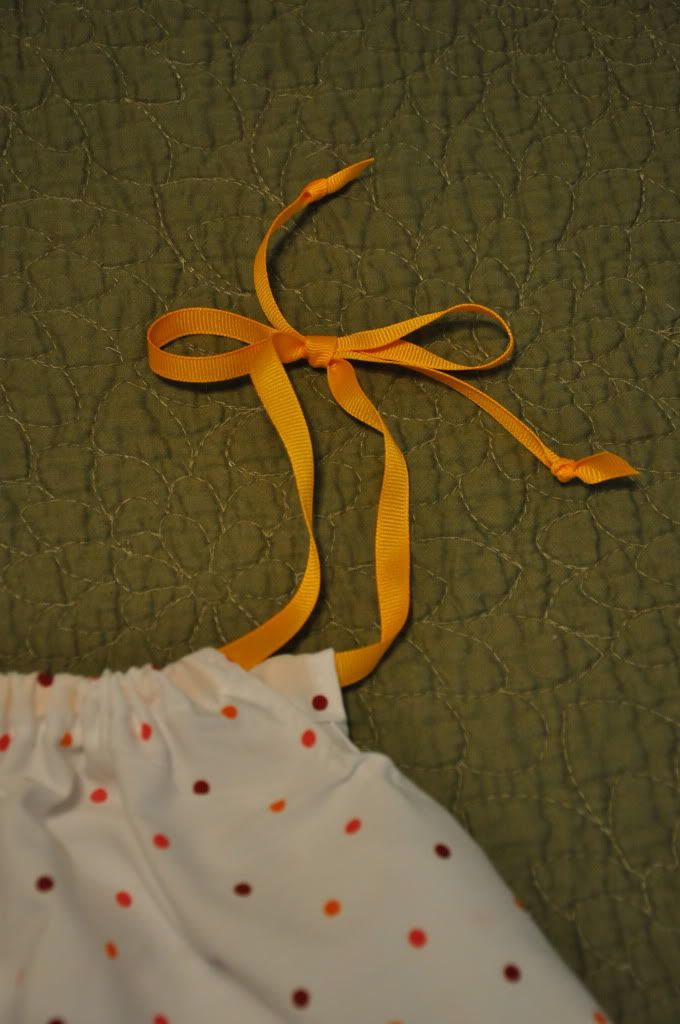 |
| Once you have a ribbon on each side, be sure to knot each end to keep it from fraying. |
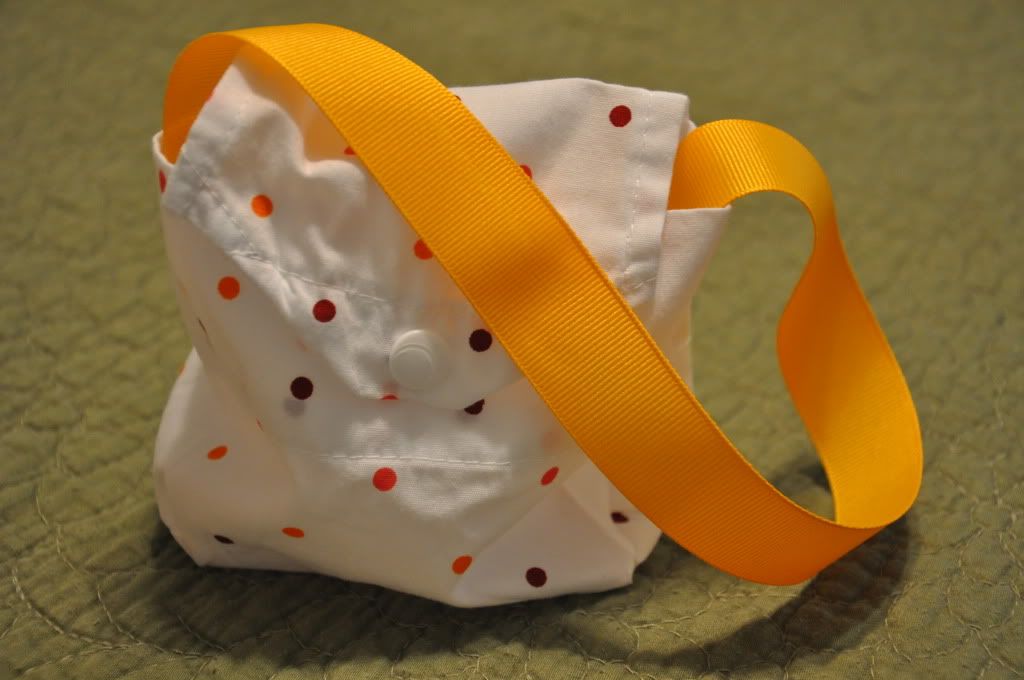 |
| The pillowcases I bought came in a little fabric pouch with a snap. I decided to sew a strip of wide ribbon inside and turn it into a matching purse. |
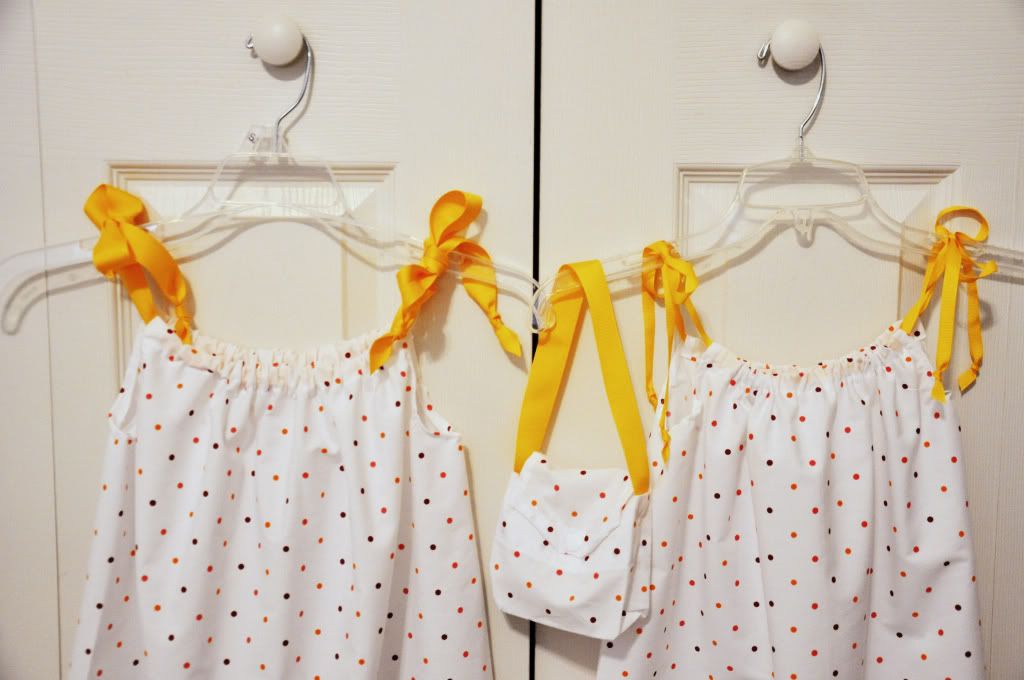 |
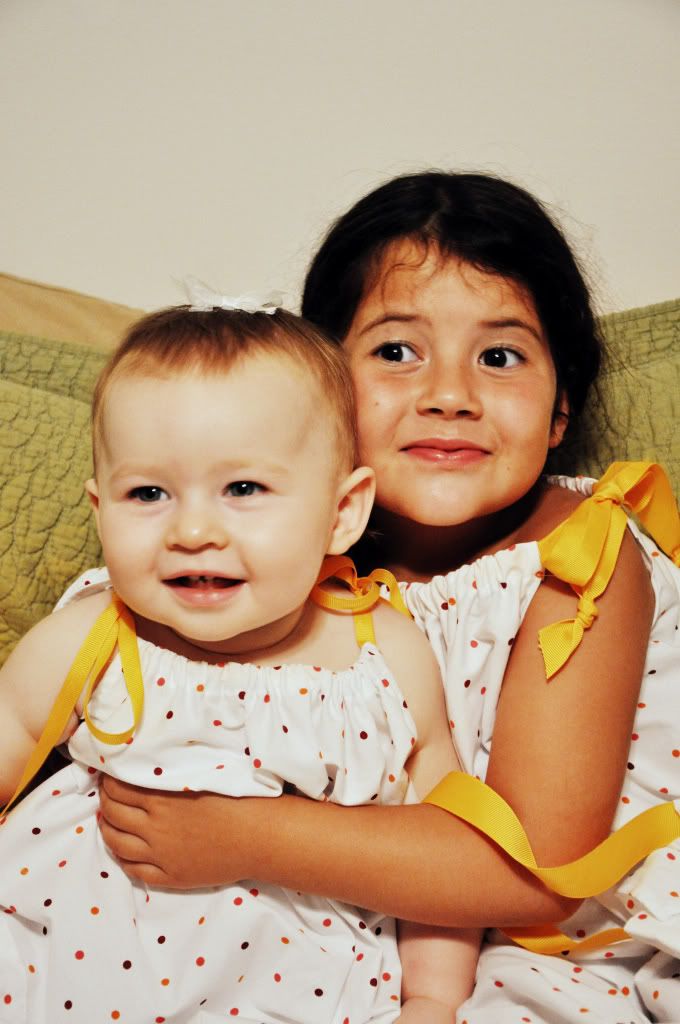
| Aren't they sweet? |
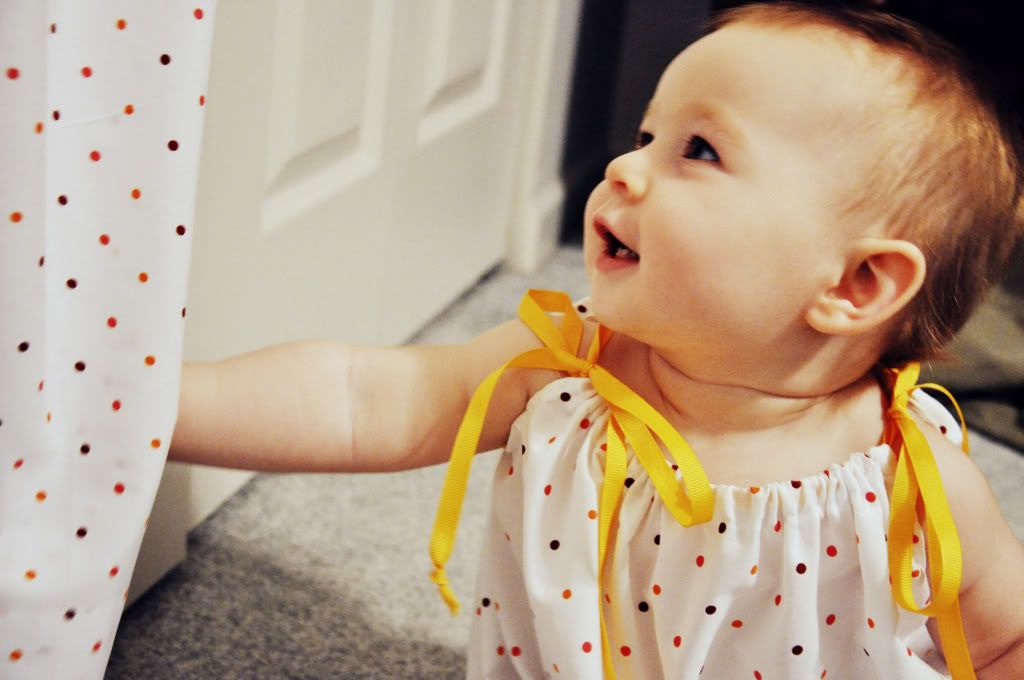 |
| Millie approves. |
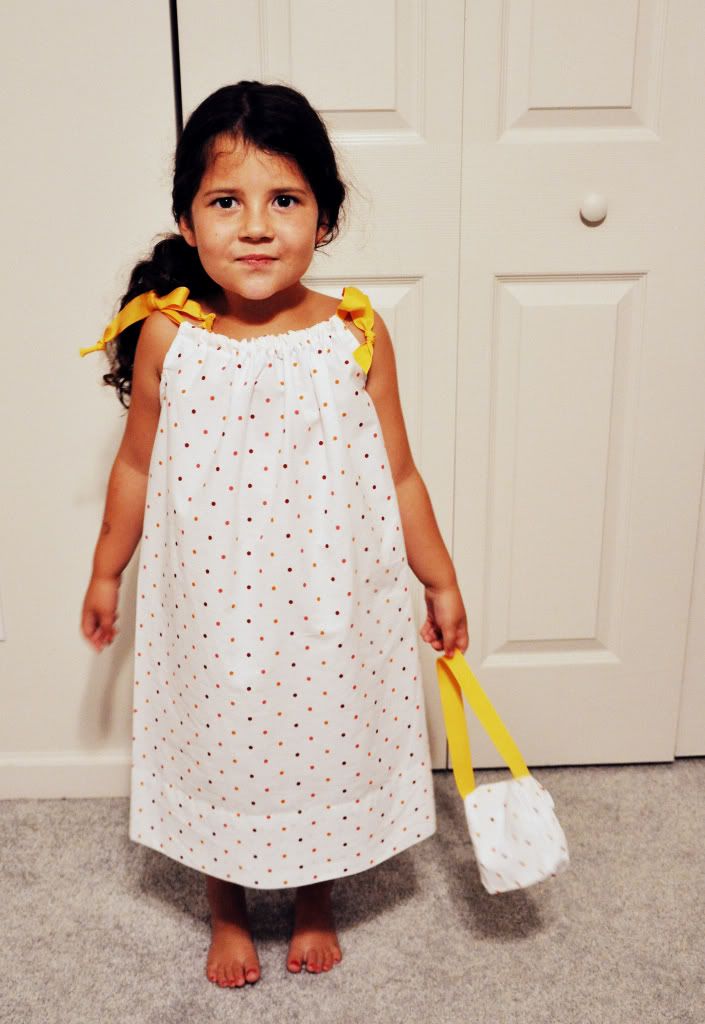 |
| Ayden with the purse. |
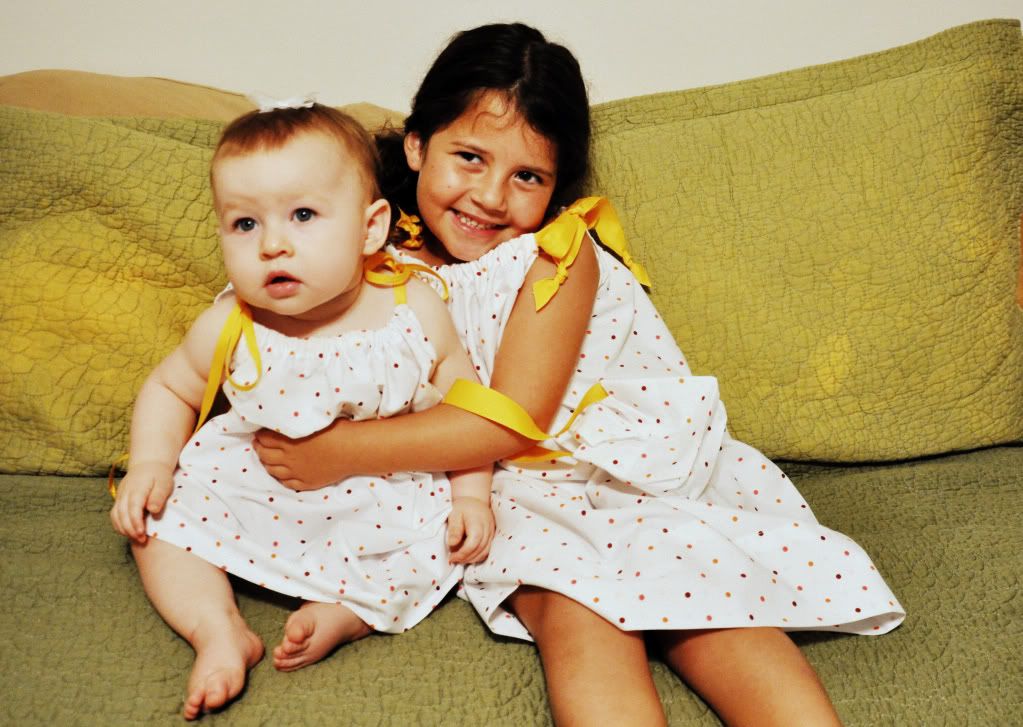 |
| So fashionable. |
Easy Pillowcase Dress
You’ll need:
*A pillowcase. (I bought a standard size 2 pack at Walmart for $5, so $2.50 per dress.)
*Spool of ribbon.
(3/8 was used for Millie’s baby size, 7/8 size for Ayden’s 5T size.
I used grosgrain, because it will hold up through washings.)
*Sewing needle, thread, scissors, tape measure, iron.
Optional- You could easily dress it up even more with cute buttons, fancier ribbon, or embroidery.
Lay the pillowcase out flat, making sure the seam is on one side.
Cut the sewn together end based on how long you want the dress,
remembering to make a little bit longer so you have enough to sew at the top.
The recommendation is around tea length, but you can make it any way you want.
I prefer to measure the kids to see where the hem will hit them, but these measurements could also work:
6 months - 14 1/4in
12 months - 16 1/4in
18 months - 17 1/4in
2T - 18 1/4in
3T - 19 1/4in
4T - 20 1/4in
Fold it in half vertically.
Cut a J shape into the folded side. This makes the armholes. You’ll need to measure it approximately 1.5in wide and 3in deep for a baby or smaller kid. For a larger kid, cut it 2in wide and 4in deep.
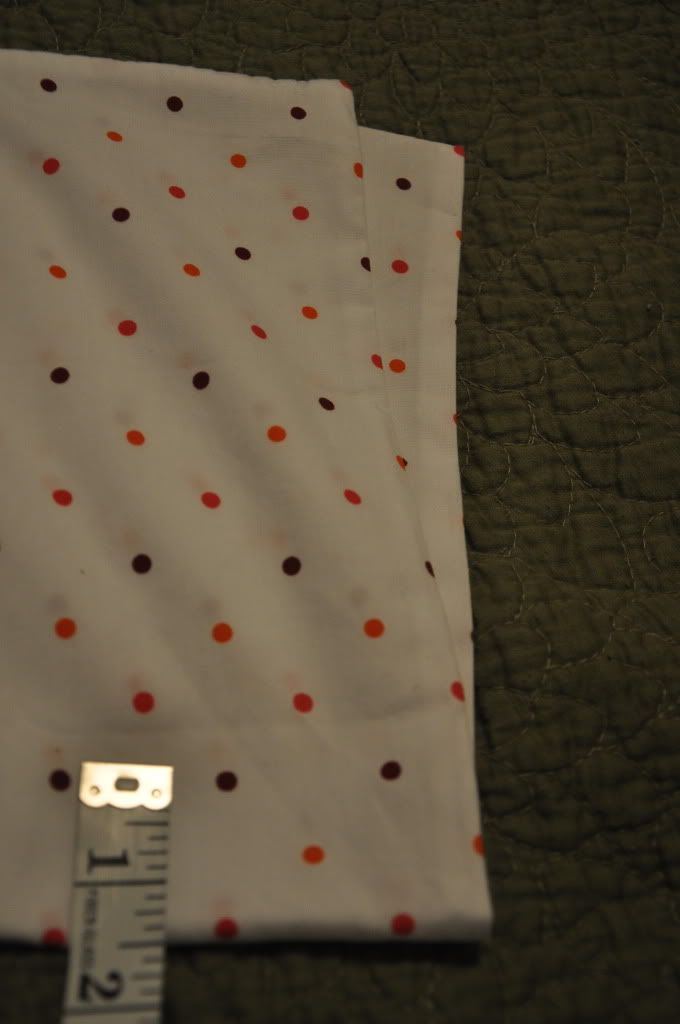
When you unfold it, you will panic like I did and think you cut the armholes where the neck should be. Nope! Fold it to get the armholes lined up on the sides. You’ll notice that the seam is now going down the back.
Now hem each armhole. I fold it in, then fold it in again. It will keep it from fraying that way.
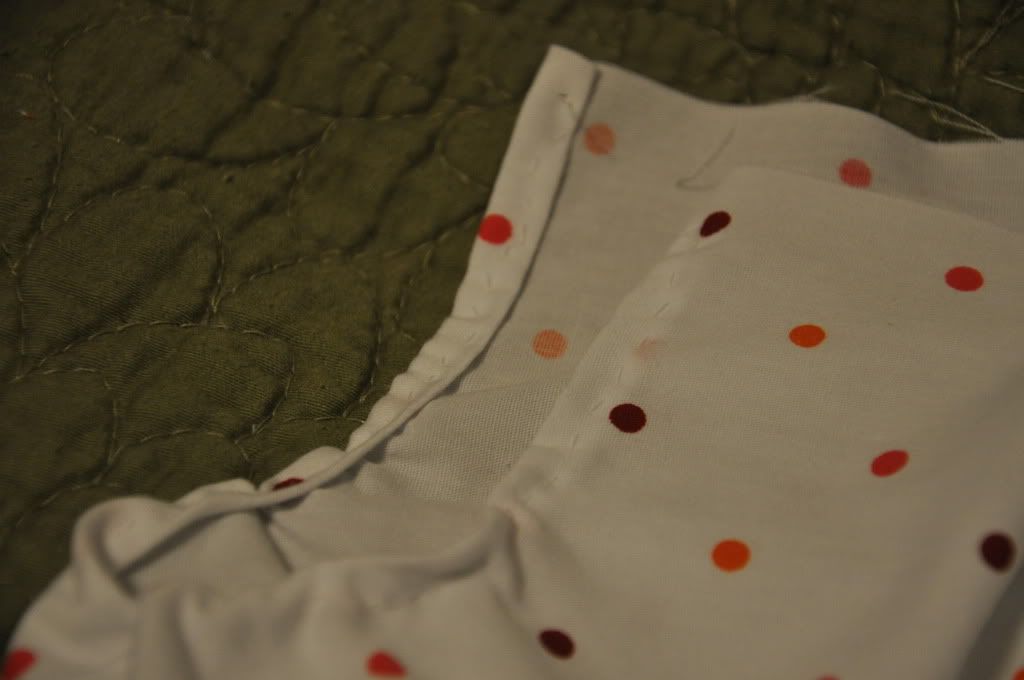
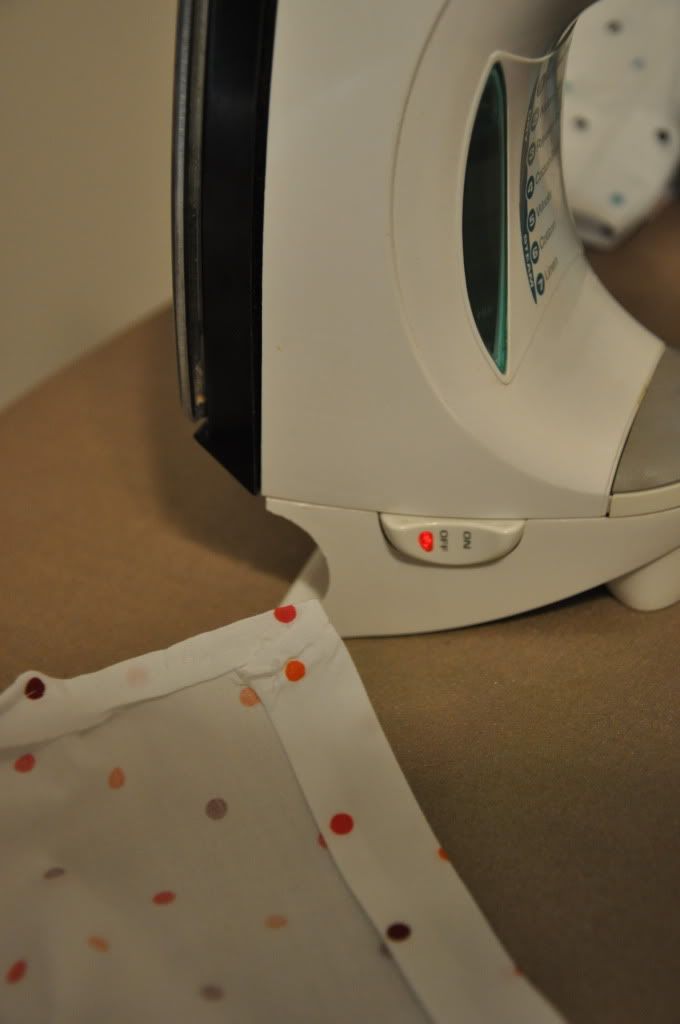
After you’ve hemmed both armholes, you’ll need to also hem the neck. I ironed the folds down so it was easier to work with, and I turned these under twice as well. Remember that this hem needs to be much bigger- a little larger than the ribbon you’re using. You’ll string it through next.
When both sides of the collar are done, you can use my mom’s safety pin trick to thread the ribbon through. Clip the safety pin to the end of the ribbon, then thread it into the hole where you hemmed. Scrunch the fabric up on the pin, then un-scrunch it, and keep working until the ribbon is all the way through.
Once you have a ribbon on each side, be sure to knot each end to keep it from fraying.
The pillowcases I bought came in a little fabric pouch with a snap.
I decided to sew a strip of wide ribbon inside and turn it into a matching purse.






24 kind comments from you:
OH MY GOODNESS! How cute! You are quit the crafty one!
Adorable! I helped a friend make one from fabric one so we first had to make it into a pillowcase. It's much easier to use an actual pillowcase!
those are A.D.O.R.A.B.L.E.!
ahhh, sweet!
what a great job.
i'll have to make some, one day, be it for my friend's kids {the ones who are getting married waaaaayyyy before me;} and maybe someday mine:)
So beautiful!
Too cute! You know the first thing I made with my mom was a pillowcase skirt. It was in first grade and the pillowcase had butterflies on it - I wore it constantly. You're going to be whipping up more dresses before you know it. :)
Yes! I love this! I need to make L some dresses - these are adorable! Great job and thanks for the tutorial :)
You did a great job! Those are adorable! I definitely want to try and make these.
My best friend is in Haiti right now and she's been posting pictures of the people down there. These dresses are pretty much all the little girls wear. I think that's really cool, and it's strange that I've seen them twice in a week when I'd never heard of them before!!
And you said you couldn't sew! Great choice of pillowcase fabric and ribbons! Those little beauties IN the darling dresses are fabulous!
Those are so cute! I so wish I had a girl!
These are so cute! You did an awesome job. Now if only I had a little girl......maybe next time!
Oh my gosh! Those are so adorable. I want one. Do they make pillow cases in my size?
Oh my goodness I have never had the desire to sew anything in my life but I am pretty sure I am going to try and make my daughter one of these! Thanks :)
aw they are so darling!!!
http://jaysonandashley.blogspot.com/
So cute! I am going to have to try this one! Thanks for sharing!
What a phenomenal job Erica! Thanks for breaking the instructions down "Barney Style" (like you're talking to a 5 yr old)for us! Lol... I have to have VERY direct instructions & you did such a good job making it look so simple that I think even I could do this! :) I have always wanted to make one of these. Might try one for my god-daughter. (I just don't think I could talk my 19 yr old son into wearing one, no matter how great a job I did :P lol) You sound really upbeat lately... Warms my heart... Take care sweet girl! ~Julia
Wow those look fabulous! I will have to try these out when I get a house and all my stuff :) very cute and very inexpensive which I love!
So cute!!! Thanks for sharing!
I always think these are so cute. I didn't realize how easy and inexpensive they are to make! I might have to start making/giving these as gifts!!
Plus, I love the photos!
Your children are beautiful. What kind of camera are you shooting with?
These are precious! Thanks for the how-to! I think I'm going to have my MIL help me with one (or two, make one for my niece..) next weekend!
Cute cute cute cute cute! I wish I could sew :-( Thanks for sharing!
Nice... the purse is so cute!
We have a link-up party going on - Tea Time Thursdays @ Kreative Korner. I would really appreciate if you'd link up some of your awesome posts there. Hope to see you at the party.
http://tanyaanurag.blogspot.com/2011/08/tea-time-thursdays-3-and-features.html
Post a Comment